After this tutorial we will be ready to write arduino code and android apps. based on nordic's and redbear's examples, to communicate the nano2 with our smartphone through Bluetooth Low Energy (BLE).
Step 1. Recognize your device.
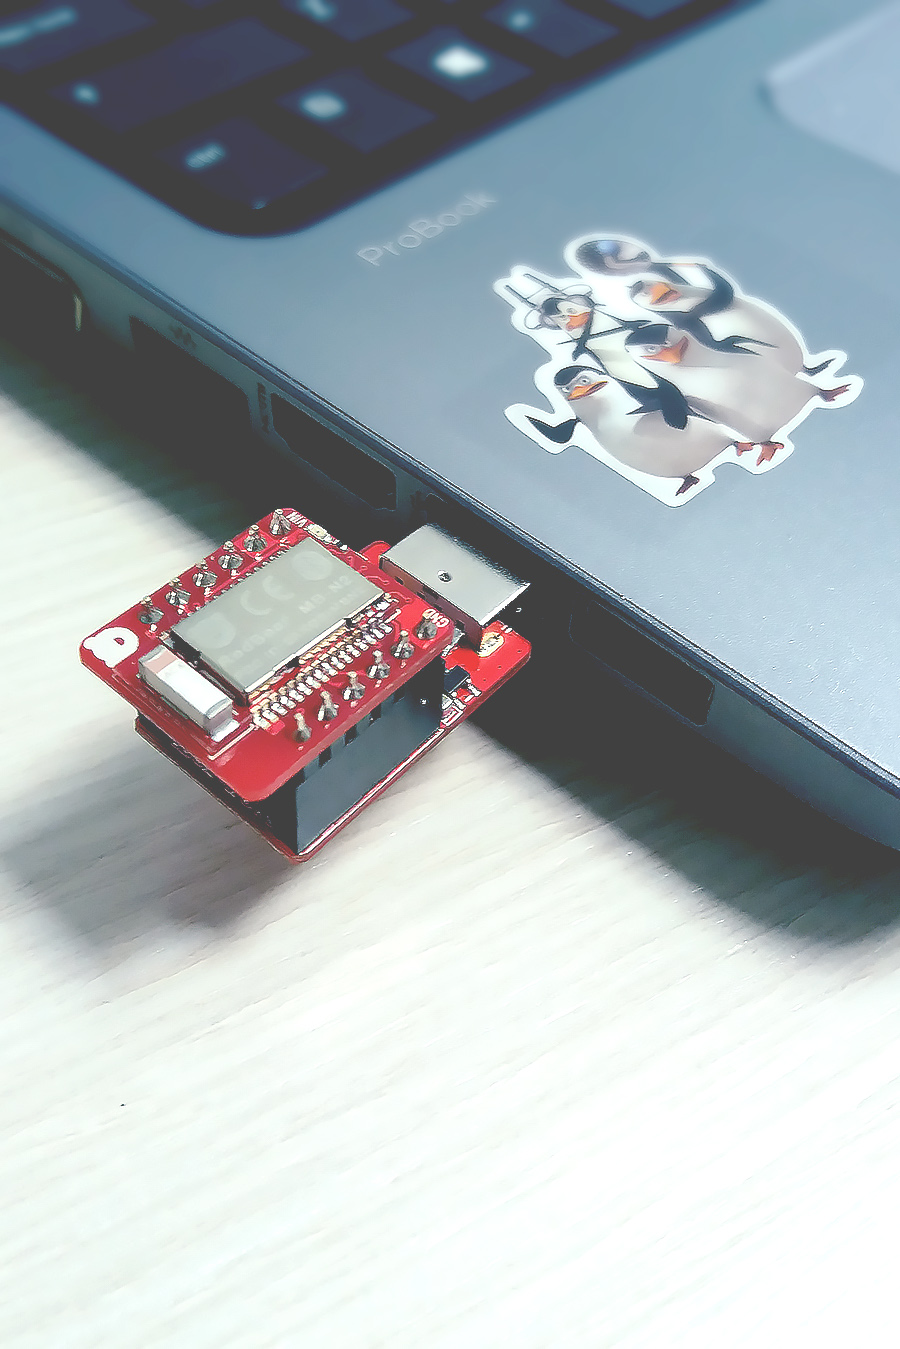
This tutorial is only for BLE Nano v2.0 [nRF52832].

Step 2. Connect the Nano2 on the DAPLink as show below.

Step 3. Upgrade its framework & test

As mentioned on the RedBear forums at this post, do the following in detail:
- Click & hold the one and only button, on the side of the DAPLink device, while inserting it into the computer's USB port to enter Maintenance mode.
- Download the file named 'DAPLink_V1.5_Interface_nRF52_20170106.bin'.
- Drag & drop that file into the root directory of the Maintenance drive. LEDs will go off & on again, Windows must recognize the device now as DAPLINK, it may get stuck at "Installing Device..." window so wait for a couple minutes, and, if it doesn't close automatically just ignore it and go to the next step straight ahead - no tears.
- Download the file named 'nRF52_EraseChip.hex'.
- Drag & drop that file into the root directory of the DAPLink drive. Device will re-connect automatically.
- Download the file 'nRF52_HRM.hex' from this nRF5x/test/ folder were all the sample firmwares are located.
- Drag & drop it like before.
- Download & Install the nRFToolbox for BLE by nordic and test the sample HRM app. Click connect, select the available Nordic_HRM device, and it will start drawing a graph giving something like 10 bpm step up or down every second.

Step 4: Set up Arduino IDE for RedBear
Download & Install Arduino IDE 1.8.0 or above on your computer. To install the board package for the nRF52 boards, please work through the following steps (7 out of 9 steps are by RedBear, the rest are mine).
- Start Arduino IDE.
- Click "File->Preferences", then show:

- Click on the icon on the right. On the pop up window, new a row and fill it with https://redbearlab.github.io/arduino/package_redbear_nRF5x_beta_index.json. Click on "OK" to close the preferences window.

- Navigate to "Tools > Board > Boards Manager". Wait until Arduino IDE download the json file we specified before. Then scroll the window to find the RedBear nRF52832 board. Select the version and click on the "Install", it will automatically download and install the board package for the RedBear nRF52832.

- After the board package installed, you will see the column for RedBear Duo is marked as "INSTALLED". Click on "Close" to shut down the Boards Manager.

- After installing board package successfully, naviagte to "Tools > Board", you can now select boards below:

- After selecting a board, you can compile and upload the examples. It contains "BLE_Examples" (BLE) and "nRF_Examples" (Peripherals, e.g. UART/GPIO).

- IMPORTANT!: Make sure that you have chosen the right Programmer "RBL_DAPLink" or else it won't work. Note: Below I have selected the BLE_HRM example sketch, I have connected my Nano2 at the COM5 port and this might differ at your device.

- Compile & Upload the HRM example. Use your nRFToolbox for BLE app again and select the HRM, which must be working exactly like before in Step 3!


Step 6. Set up Android Studio
Now that we have opened the source code of the "heart rate" monitor we can make any program that will send data a Bluetooth Smart-enabled device eg. our Android smartphone. To make the most out of our project we will have to develop an app, but to avoid doing it ourselves, we are going to use the nRF Toolbox open source app project from github as a basis. This is a well made app that includes example codes even for smartwatch apps! We will need Android Studio to open, edit and compile the project to our smartphone.
- I assume you already have the latest Android Studio installed on your computer, if else get it from here. I also assume you have the basic knowledge about loading projects, compiling and debugging via usb to your device etc.
- Download nRF Toolbox from git and extract its contents.
- Open Android Studio, click Open (an existing project), locate and select the 'Android-nRF-Toolbox-master' folder (must contain folder like app, common, resources, wear, etc). Click OK and let it load the project and make sure to update whatever it may need.

- If you have the nRF Toolbox already installed from Play Store (eg. as we did in Step 3) you must first uninstall it from your device before proceeding to your first debugging.
- Connect your smartphone via USB. Make sure you have enabled your developer options where the USB debugging setting must be turned on.
- Compile the app to your device. Enjoy creating applications for RedBear Nano2!


In conclusion, you have a tiny little BLE microcontroller that if you power it with 3.3V it can stay "beaconing" the last program (firmware) you uploaded from Arduino IDE. You can get analog inputs from sensors and push them directly to smartphones around with the app you developed on Android Studio!
Thank you so much for this tutorial!!
ReplyDeleteyes, but when i compiled and tried to upload,it is givig me the error regarding "OPENCOD".But anyway after compilation i manually flashed the .hex files which are obtained in '/tmp/arduino_build_693071/' directory into DAPLINK.but my LED is not blinking at all.could anyone help me
ReplyDelete